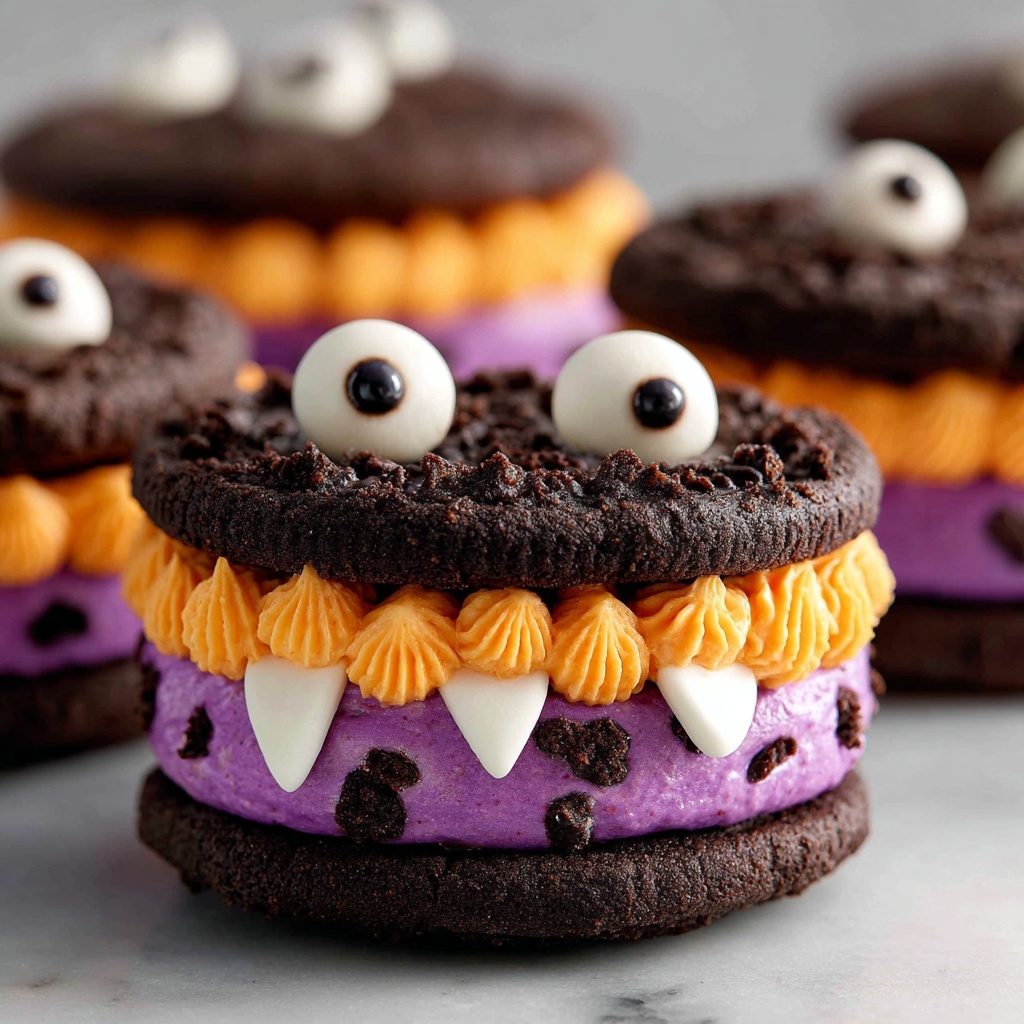
If you are on the hunt for the ultimate festive treat to delight both kids and adults this spooky season, the Chocolate Monster Halloween Cookies Recipe is your new best friend in the kitchen. Richly chocolaty, studded with colorful Halloween candies, and playfully topped with candy eyeballs, these cookies bring a perfect balance of gooey softness and satisfying crunch that makes every bite an absolute joy. Whether you’re baking for a Halloween party, handing out treats, or simply craving a monster-sized chocolate indulgence, this recipe promises fun, flavor, and plenty of festive cheer.
Ingredients You’ll Need
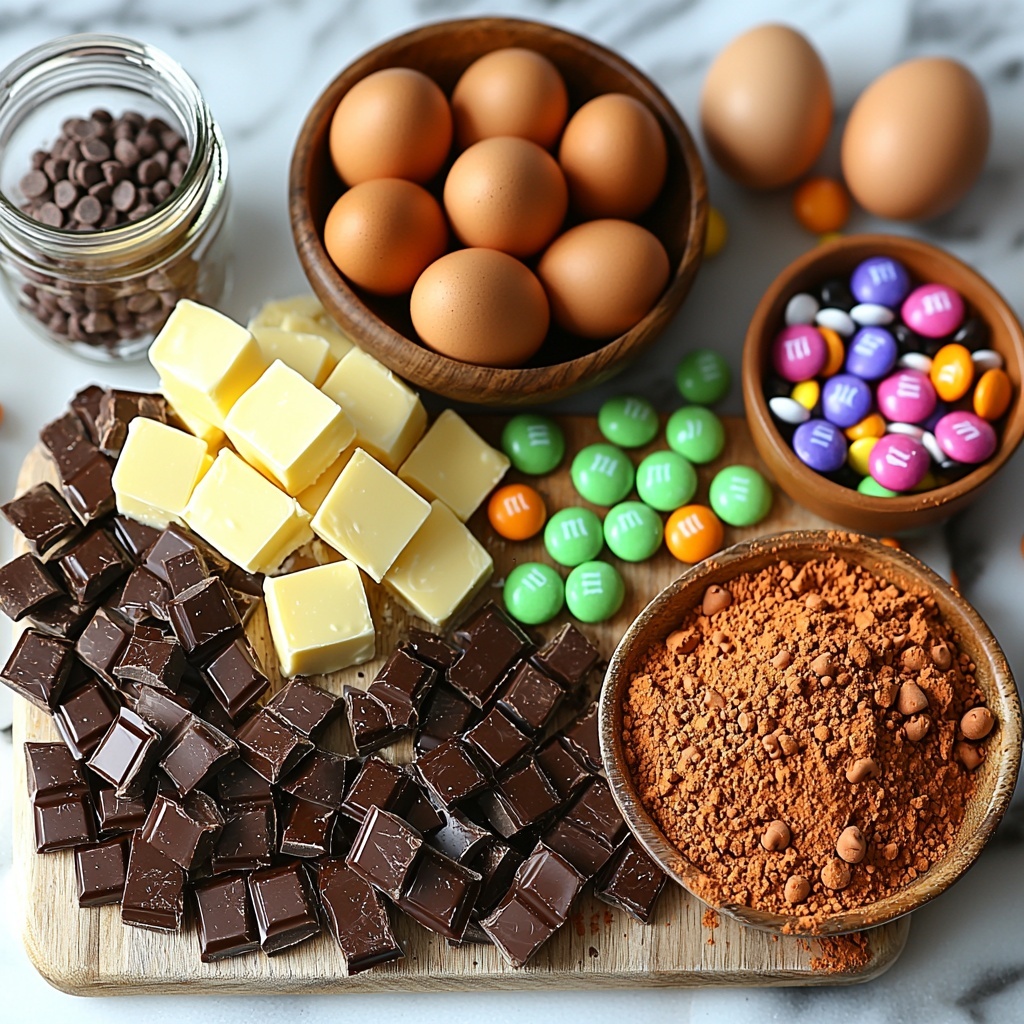
Gathering simple yet essential ingredients is the first step to creating these irresistible cookies. Each component plays a vital role in building the cookie’s texture, flavor, and that perfect spooky look we all adore.
- 1 cup unsalted butter (softened): Provides richness and a tender crumb for the cookies.
- 1 cup granulated sugar: Adds sweet crunch and helps the cookies to brown beautifully.
- ½ cup brown sugar: Infuses a subtle caramel note and keeps cookies moist.
- 2 large eggs: Bind everything together and add structure.
- 1 teaspoon vanilla extract: Enhances all the chocolatey flavors with warmth.
- 2 cups all-purpose flour: The sturdy base for these chewy cookies.
- ⅔ cup unsweetened cocoa powder: Brings deep, intense chocolate flavor.
- 1 teaspoon baking soda: Helps the cookies rise just right.
- ½ teaspoon salt: Balances sweetness and intensifies chocolate.
- 1½ cups chocolate chips: Melts into gooey pockets of chocolate yum.
- ½ cup Halloween-colored M&M’s or candy-coated chocolates: Adds colorful bursts and fun crunch.
- Candy eyeballs for decorating: The spooky finishing touch that makes these monsters come alive.
How to Make Chocolate Monster Halloween Cookies Recipe
Step 1: Preheat and Prep
Start by setting your oven to 350°F (175°C) and lining two baking sheets with parchment paper. This step ensures your cookies bake evenly and release easily once cooled, making the whole process smoother from start to finish.
Step 2: Cream the Butter and Sugars
Take that softened butter and beat it together with granulated and brown sugars until light and fluffy. This creaming process is key because it traps air, giving your cookies a soft, tender texture that’s absolutely dreamy.
Step 3: Add Eggs and Vanilla
Mix in eggs one at a time to make a smooth, velvety batter. Then stir in the vanilla extract—this little splash adds a delicate background note that perfectly complements the rich chocolate.
Step 4: Combine Dry Ingredients
Whisk all your dry ingredients—flour, cocoa powder, baking soda, and salt—in a separate bowl. This ensures they are evenly distributed and prevents clumps, giving you an even chocolate flavor in every bite.
Step 5: Mix Dry Ingredients into Wet
Gradually add your dry mix to the wet ingredients, stirring just until combined. Overmixing can make cookies tough, so keep it gentle here to maintain that soft, chewy texture we love.
Step 6: Fold in Chocolate Chips and Candy
Now comes the fun part—fold in the chocolate chips and colorful Halloween candies. These little bursts of sweetness and crunch turn each cookie into a festive surprise waiting to be discovered.
Step 7: Scoop and Decorate
Scoop tablespoon-sized balls of dough onto your prepared baking sheets, spacing them about 2 inches apart. Before popping them into the oven, gently press a few candy eyeballs on top of each mound. These spooky eyes add personality and make each cookie uniquely monstrous!
Step 8: Bake and Cool
Bake your cookies for 10 to 12 minutes, just until the edges look set but the centers remain soft. Let them rest on the baking sheet for 5 minutes before transferring to a wire rack to cool completely. The slight cooling time is crucial—it allows cookies to firm up without losing that tender center.
How to Serve Chocolate Monster Halloween Cookies Recipe
Garnishes
These cookies are naturally festive but can be jazzed up with additional touches like a sprinkle of edible glitter or extra candy eyeballs after baking to enhance their whimsical monster vibe. Drizzle a bit of melted white or orange chocolate for even more color contrast and Halloween spirit.
Side Dishes
Pair your Chocolate Monster Halloween Cookies with a cold glass of milk or a warm cup of spiced hot chocolate to create the ultimate cozy treat duo. They also work wonderfully alongside pumpkin-flavored desserts or a bowl of fresh fruit to balance out the sweetness.
Creative Ways to Present
Arrange these cookies on a black or orange platter lined with themed napkins for an eye-catching display at any Halloween gathering. For added fun, stack them in a “monster cookie tower” or wrap individual cookies in clear bags tied with spooky ribbons for party favors or trick-or-treat handouts.
Make Ahead and Storage
Storing Leftovers
If you have any cookies left after the party, store them in an airtight container at room temperature. They stay fresh and soft for up to 5 days, making them perfect for enjoying throughout the week or for a surprise snack later.
Freezing
These cookies freeze beautifully—simply place them in a single layer on a baking sheet to freeze individually before transferring to a freezer-safe container. When stored this way, they maintain their texture and flavor for up to 3 months and are ready to thaw whenever the craving hits.
Reheating
To bring back that just-baked warmth, pop frozen or refrigerated cookies in the microwave for 10 to 15 seconds or heat briefly in a low oven. The chocolate melts beautifully with a gentle reheat, making them taste freshly baked all over again.
FAQs
Can I substitute the M&M’s with other candies?
Absolutely! You can use any small candy-coated chocolates, festive sprinkles, or mini candy bars chopped into pieces. Just make sure the candies won’t melt too quickly or burn during baking.
How do I make these cookies vegan?
To veganize the Chocolate Monster Halloween Cookies Recipe, swap the butter for a plant-based margarine, replace eggs with flax eggs (1 tablespoon ground flaxseed + 3 tablespoons water per egg), and make sure your chocolate chips and candies are dairy-free.
Why are my cookies spreading too much?
If your cookies spread too thin, it might be due to overly soft butter or warm dough. Try chilling the dough for 30 minutes before scooping and baking, and ensure your baking soda is fresh for proper leavening.
Can I use cake flour instead of all-purpose flour?
You can, but cake flour is lower in protein, which might result in a softer, less chewy cookie. For the perfect chewy texture, all-purpose flour is recommended.
What’s the best way to make candy eyeballs stick?
Press the candy eyeballs gently but firmly into the dough after scooping onto the baking sheet. If you want extra security, you can dab a tiny bit of the cookie dough on the back of each eyeball to act like edible glue before pressing them on.
Final Thoughts
There’s something truly special about the Chocolate Monster Halloween Cookies Recipe that turns baking into a delightful celebration of flavor and festive fun. Whether you’re looking to impress party guests or simply satisfy a seasonal sweet tooth, these cookies are an unforgettable treat that captures the playful spirit of Halloween in every bite. I can’t wait for you to try baking them and sharing these monstrous delights with everyone you love!
Print
Chocolate Monster Halloween Cookies Recipe
- Prep Time: 15 minutes
- Cook Time: 12 minutes
- Total Time: 27 minutes
- Yield: 24 cookies
- Category: Dessert
- Method: Baking
- Cuisine: American
- Diet: Vegetarian
Description
These Chocolate Monster Halloween Cookies are a festive and delicious treat perfect for Halloween parties and trick-or-treat bags. Soft, chocolatey, and studded with colorful Halloween-themed candies and candy eyeballs, these cookies bring spooky fun to your dessert table with every bite.
Ingredients
Wet Ingredients
- 1 cup unsalted butter (softened)
- 1 cup granulated sugar
- ½ cup brown sugar
- 2 large eggs
- 1 teaspoon vanilla extract
Dry Ingredients
- 2 cups all-purpose flour
- ⅔ cup unsweetened cocoa powder
- 1 teaspoon baking soda
- ½ teaspoon salt
Add-ins
- 1½ cups chocolate chips
- ½ cup Halloween-colored M&M’s or candy-coated chocolates
- Candy eyeballs for decorating
Instructions
- Preheat Oven and Prepare Baking Sheets: Preheat your oven to 350°F (175°C) and line two baking sheets with parchment paper to prevent sticking.
- Cream Butter and Sugars: In a large bowl, beat together the softened butter, granulated sugar, and brown sugar until the mixture is light and fluffy, indicating it’s well aerated for soft cookies.
- Add Eggs and Vanilla: Beat in the eggs one at a time to ensure they are fully incorporated, then stir in the vanilla extract for flavor.
- Mix Dry Ingredients: In a separate bowl, whisk together the all-purpose flour, unsweetened cocoa powder, baking soda, and salt to evenly distribute the leavening and cocoa.
- Combine Wet and Dry Mixtures: Gradually add the dry ingredients into the wet ingredients and stir until just combined to avoid overmixing which can toughen cookies.
- Fold in Chocolates and Candies: Gently fold the chocolate chips and Halloween-colored candy-coated chocolates into the dough to distribute them evenly.
- Shape Cookies and Add Decorations: Scoop tablespoon-sized portions of dough onto the prepared baking sheets, spacing about 2 inches apart. Press a few candy eyeballs gently into the top of each dough ball for a spooky effect.
- Bake Cookies: Bake in the preheated oven for 10–12 minutes or until the edges are set but the centers remain soft and slightly underbaked for chewy texture.
- Cool Cookies: Allow the cookies to cool on the baking sheet for 5 minutes, then transfer them to a wire rack to cool completely before serving or storing.
Notes
- Press extra M&M’s and candy eyeballs on top of dough balls before baking to create a more colorful and spooky look.
- These cookies freeze well; store them in an airtight container in the freezer for convenient Halloween party treats.
- Be careful not to overbake to keep the centers soft and chewy.


